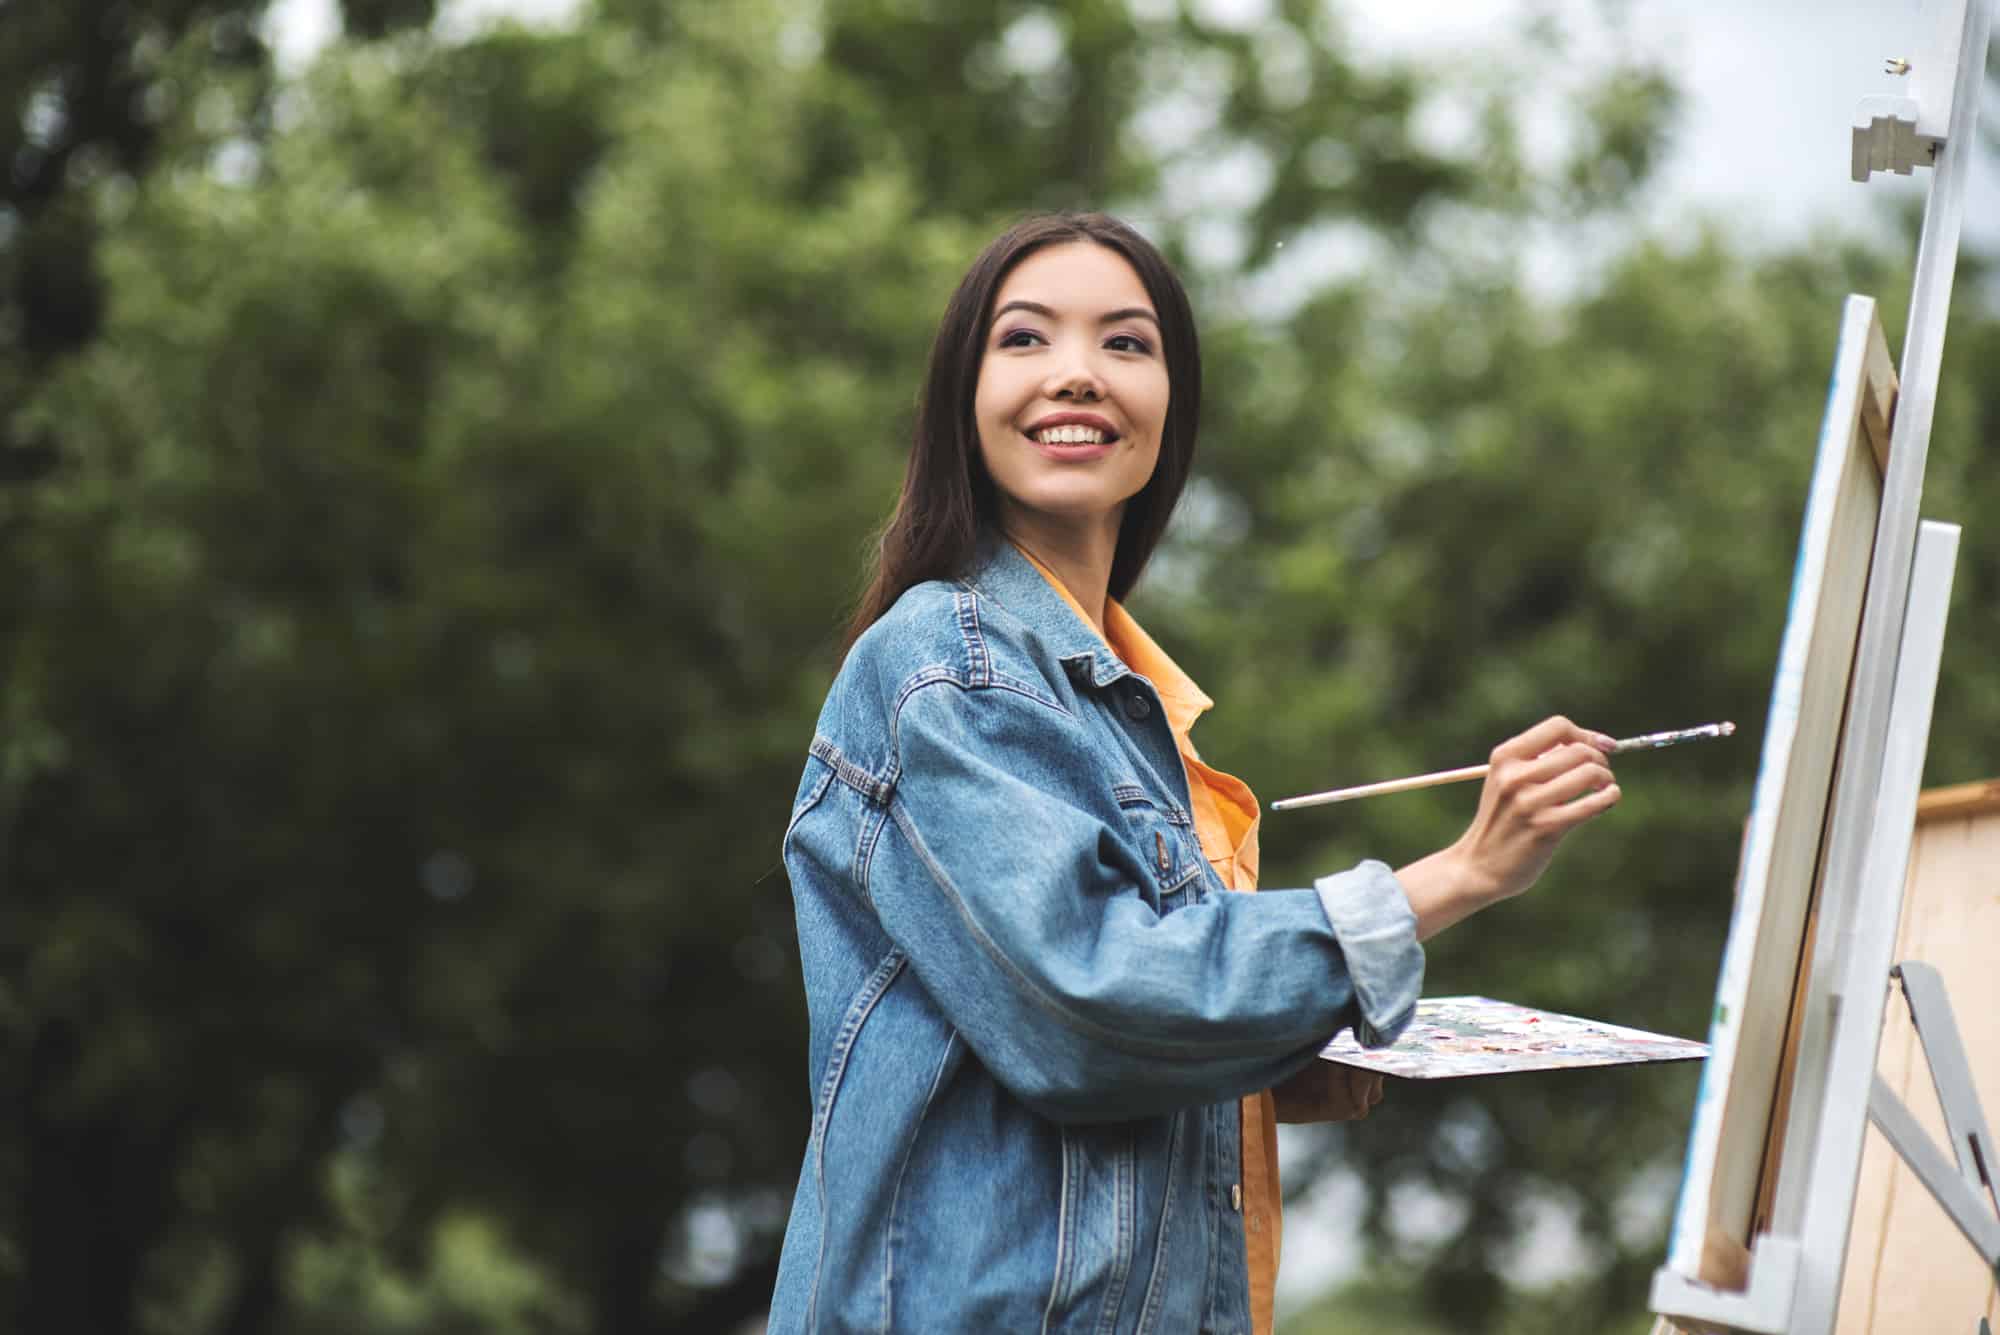
As an artist, photographing your art can sometimes be the last thing you want to think about therefore it can be challenging to do. So, here are some simple steps for you to use to get the best images to use for displaying and/or reprinting your art.:
If you have a DSLR camera you can take images that are a much higher quality than with a smartphone.
Step 1 : Hang your artwork on the wall & Align it Correctly
Find a neutral colored wall (white, black, gray) or use a fabric or back cover if you have a colorful wall. Hang your work at a height where the middle of your piece will be parallel to where your camera will be either on a tripod or resting sturdily on a table or other surface.Use a level to check that your art is vertical then set up your camera so it’s lens height matches the centre of the artwork. Use a measuring tape, don’t eyeball it. A sturdy tripod is essential for sharp photos and accurate squaring up of the artwork. Use a cable release, mirror lock up setting, or the self timer to eliminate all camera movement.Use the level on the back of your camera again to check that the camera back is also parallel to the shooting wall. When both the camera back and artwork are parallel to each other the perspective should be close to correct. Distortion will also be minimal.
Get as close as possible leaving only a small amount of space around the edges of your artwork. You can crop this out later. You can hold prints in place by attaching a large thin sheet of metal to your wall. Then use small earth magnets on the corners of the print. Remove the earth magnets later in post-processing.You could also lean them up on a stiff board slanted against the wall then parallel the camera back to this board. This works if the prints are all the same size. If size varies a lot then it is much easier to square up the work keeping everything in a vertical plane.
Step 2 : Light your work properly
If you are shooting your work indoors, do so in a room with plenty of windows and natural light. Some artists also enjoy photographing their work outdoors when it is cloudy or overcast, as indirect sunlight provides the best lighting. Natural light can be a beautiful way to photograph your work as long as it is indirect. If the weather isn’t cooperating, or if you are up against a late-night deadline, you will need to set up a lighting kit. All you will need is two lights at a minimum for 2-dimensional work. We have used lighting stands that you often see in dorm rooms (the ones with three adjustable bulbs) or clamp lights. Place the lights halfway between the camera and the canvas at a 45-degree angle pointing toward the wall (this will help eliminate shadows and “hot spots” on the painting). If you have umbrellas for your lights, attach them now.
LIGHT HACK: If you don’t have a professional grade lighting kit, you can easily hack diffusing the light with a white sheet or white plastic between the lights and your work. This helps to evenly distribute the light. Alternatively, a few sheets of white foam core can be set up to simulate a “raking light” effect where the lights are pointed at the foam core and the whiteboard reflects the light back at the piece.
Step 3: Adjust your camera and settings
Once your artwork is secured to the wall, double check that the camera is set to the lens lines up with the middle of the painting. You want to position your camera so that the frame is filled with most of the painting, with a bit of background that you can crop out later. It is important for many juries to see the edges of the paintings to get a sense of scale. The ISO and aperture of your camera are very important to get clear, crisp and bright images of your artwork. ISO references what film speed used to measure. The higher the number, the more sensitive the film was to light and the coarser the image. In this case, since we want very crisp images, we want a low ISO. Studio shots will generally be shot at ISO 100.The f-stop of the aperture of your camera adjusts how much light is let through the lens by making the opening bigger or smaller. The higher the number, the less light is being passed through. With a DSLR the ideal range for shooting artworks is between f-8 and f-11. If your camera has a digital zoom the first thing to do is turn this off. Digital zoom enlarges a section of the image in-camera. This results in lower quality, noisy images.Optical zoom relates to the actual lens magnification. An ideal focal length setting for photographing medium size art is 80 or 100 mm. Select the largest file quality setting even if it seems far bigger than your current requirements. A larger file will be even sharper when downsized. And larger files (300 dpi) are needed for printing and reproduction and needs will change.
If your camera can shoot RAW, you will get the best sharpness and tonal range. But raw files need skilful processing choices in the editing stage. If you are unsure about raw processing but like the benefits, try setting the quality to RAW PLUS LARGE JPG.
TIP: Set your camera’s timer to four or five seconds so that pressing the shutter button doesn’t create a shake in your image.
Step 4 : Edit your photos to perfection
There are plenty of free or inexpensive photo editing software alternatives out there that will help minimize any inconsistencies. While Photoshop, or Gimp allow basic functions such as color correction, cropping, and other minor adjustments. Lightroom, also offers a subscription-based editing program that professional photographers use. Click the link below for other top free photo editing software.
TIP: Add some texture and remove any unwanted areas with the clone stamp tool. Crop out and make sure the artwork is aligned correctly. Add some sharpness to it but not too much.
https://www.sodapdf.com/blog/free-photo-editing-software/
GIMP :
GIMP is widely considered the best free photo editor available on the market. The software includes a wide range of tools, ranging from basic actions to professional-quality features. Beginners will highly benefit from its selection and montage tools, cropping, color adjustment, and automatic image enhancement tools. On the other hand, advanced users will find a number of tools catered to them, such as content-aware resizing, face swap, animated gifs, layer masks, curves, and personalizable brushes.
Paint.NET :
Paint.NET was initially created by a Washington State University student as a replacement for Microsoft Paint. But the original drawing program has developed into an intuitive free photo editing software aimed at those looking for an easy-to-use free image editing software that offers high-quality results.
The software has a clear and straightforward interface that supports hotkeys functions, making it a great option for inexperienced users who don’t want to spend a lot of time trying to figure out how the program works. Plus, this simplicity makes it possible to smoothly run Paint.NET on less powerful devices, such as notebook
Video Tutorials :
Here are some good tips that will help you get great photos of your artwork.
By : Caleigh Bird Art
- How to Photograph Artwork Using Natural Light
https://www.youtube.com/watch?v=lSQJWVlTDvg
- How to Photograph Artwork without a Glare
https://www.youtube.com/watch?v=3OHu47Ezguw
- Making Art Prints – Formatting + Editing with Free Software